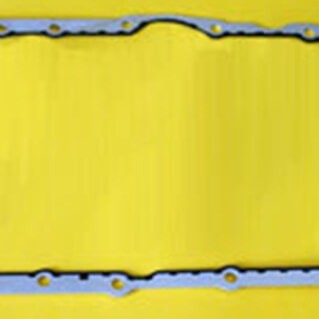
How to replace an oil pan gasket
- Share
- Issue Time
- May 13,2020
Replacing a leaking oil pan is one of the best ways to ensure your engine is receiving the oil it needs, and it can sometimes be done in a matter of a few simple steps. For the lucky few, the source can be a loose oil-pan drain plug, a dipstick tube that’s come unseated from the engine block, or an oil filter that’s either not screwed down or has a cracked gasket.
Detect oil leaking from an oil pan
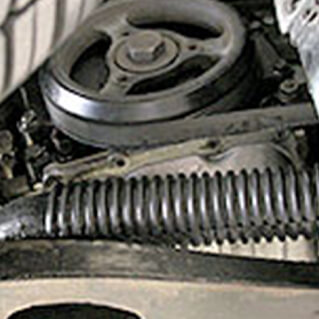
To trace oil leaking from an oil pan, begin by cleaning the engine with a degreaser, possibly at the self-service car wash. When external oil reappears, follow the trail to its highest point. Hopefully, the culprit will be one of the offenders listed above. If the evidence leads to the top of the oil pan, however, the solution will be more labor intensive.
Installation of oil pan gasket replacement
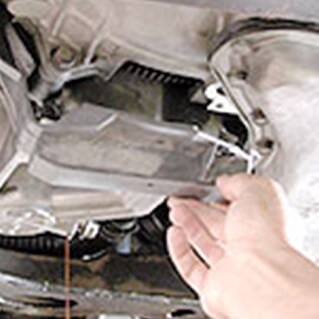
A service manual is a valuable resource when removing the oil pan. Other parts and brackets might need to be removed first to access the pan and its bolts, the locations of which are illustrated in the manual. Vehicle-specific procedures will also be described in the manual, such as if the crankshaft needs to be rotated before the pan will come out. Also read the instructions that come with the oil pan gasket replacement to see what, if any, sealers and chemicals the job requires.
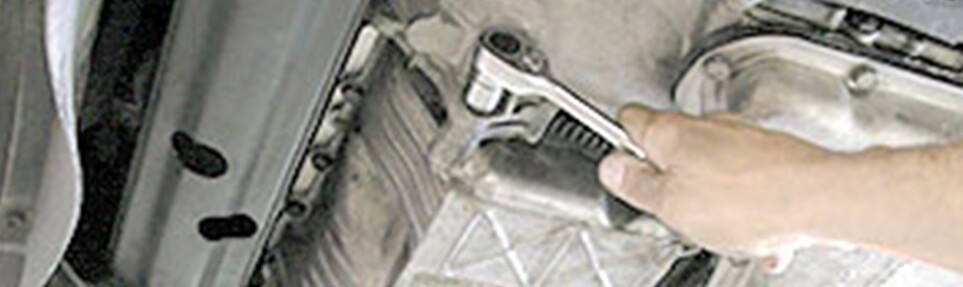
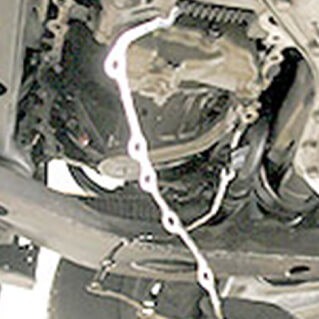
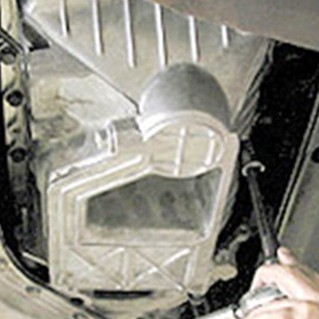
The steps here show oil-pan gasket replacement on a front-wheel-drive car. The job is somewhat straightforward, but it can be messy. Be conscientious of a few potential pitfalls: Try not to bend the oil pan when removing it. Attempting to pry the pan loose with a screwdriver can bend the mounting surface. Tapping it with a mallet can actually crack the pan if all bolts aren’t out. (Double-check the bolt count and locations in the manual if the pan doesn’t release easily.) Once the oil pan is off the vehicle, check it for metal shavings to reveal other potential problems. Also clean all sludge out of the pan and inspect for cracks before reinstalling it.