How to Replace Ball Joints
- Share
- Issue Time
- Apr 20,2016
A worn-out ball joint will pivot horizontally and vertically, negatively affecting your handling at low speed, and becoming especially dangerous at high speeds. Recognizable for a knocking sound in the wheel well as you execute a turn, fixing old ball joints is an important part of keeping your vehicle road-safe. You can do it yourself for the price of the parts and the right approach.
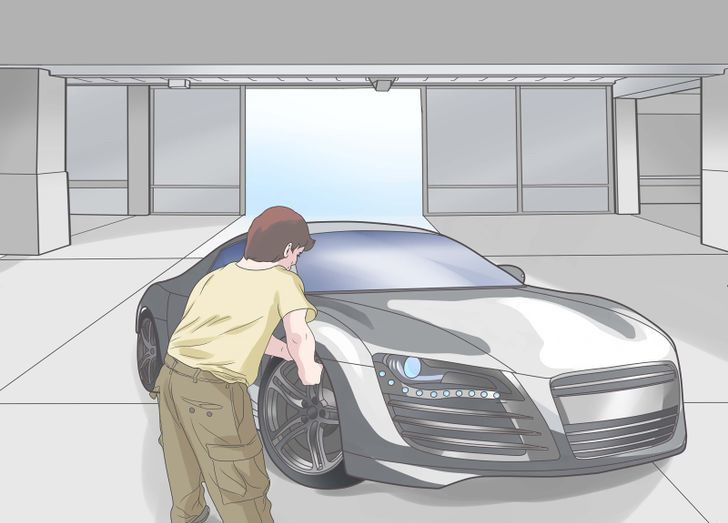
Prep the work area. Park on a flat surface and block both rear wheels, front and back. Jack both front wheels off the ground and support the vehicle with jack stands. Chock the back tires to make sure nothing will move anywhere while you're working.
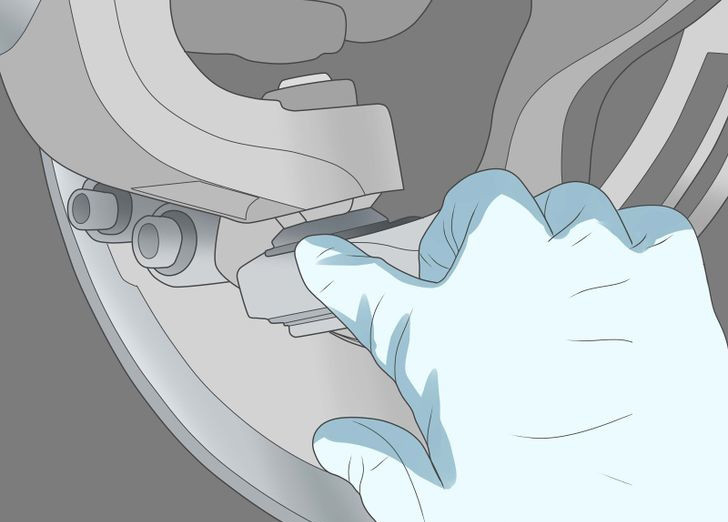
Inspect the ball joints to make sure they need to be replaced. Figure out if your vehicle's got a strut-style suspension or a control arm, then check the ball joint by either jacking up the control arm near the ball joint to check for wheel play, or by jacking up the car and using a pry-bar to check for wheel play in a strut-style suspension.
- There should be no space between the ball joint and the point of contact. If you see any space, or the wheel moves considerably, the joint needs to be replaced.

Purchase the correct replacement ball joint assembly for your vehicle. Go to the auto parts store and get a replacement part appropriate for your make and model. All you've got to know is the type of vehicle and you should be able to use the guidebook in the aisle, or ask for help and they'll be able to direct you.
- Typically, a solid ball joint replacement will run about $80 or $90 new. Compared to the several hundred to a thousand dollars they'll charge at the shop, this can be a very cost-effective DIY project.
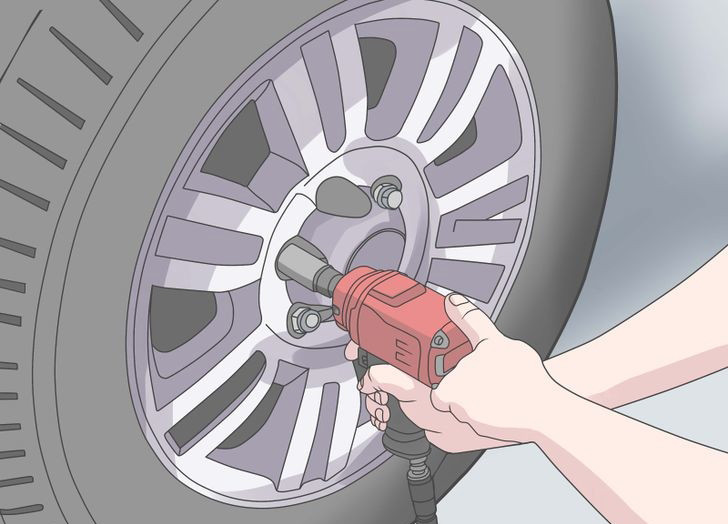
Remove the wheel and access the ball joint. Depending on the steering assembly, you may also have to move aside the brakes. If so, use a wire to hang the brakes and don’t dangle them by the brake lines. You'll also need to loosen the mounts holding the control arm or sway bar in place to give you more room to move suspension parts away.
- If it's at all possible, try to work around the brake rotor, caliper, and the line without removing the assembly. If you do, you'll have to bleed the brakes, making this a much bigger job.
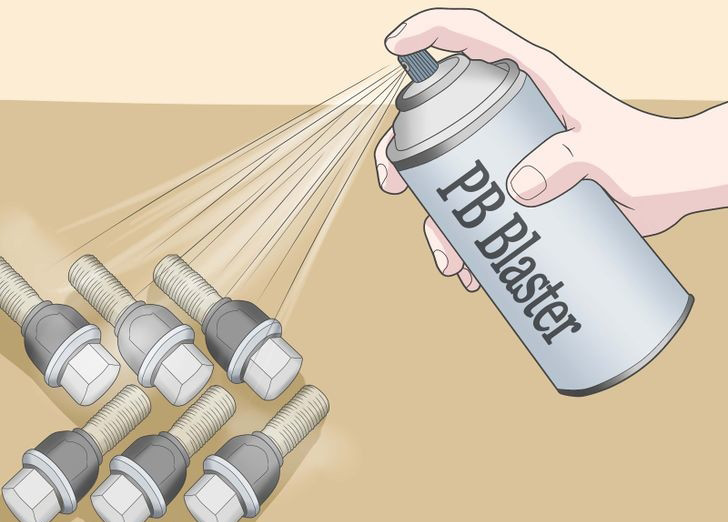
Soak all the bolts with WD-40 or PB Blaster. The ball joints can be some of the gunkiest components on the entire undercarriage, quite caked with dirt and other road grit, and it can be a bear trying to get the ball joint loose from that build-up. To make it easier on yourself, spray some metal cleaner on all the bolts to try to get them to slip off somewhat more easily.
Removing the Old Ball Joint

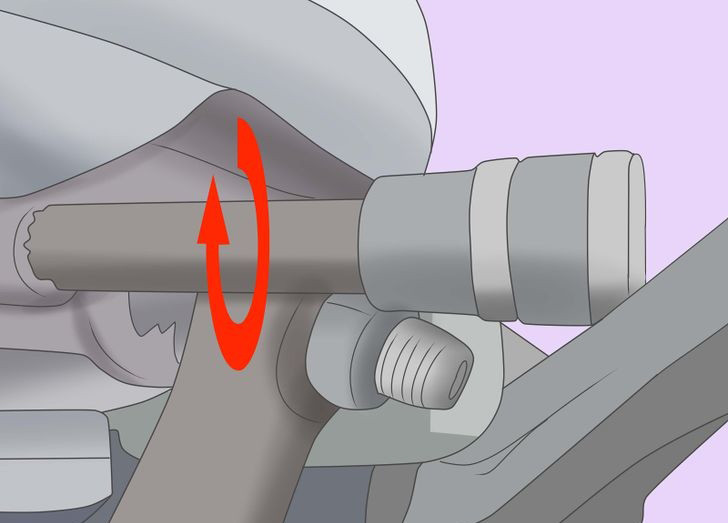
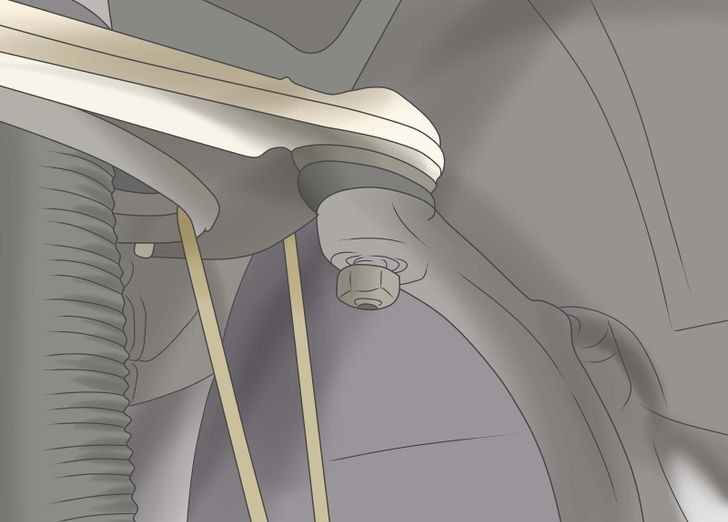
Pull the cotter pin and loosen the large castellated nut. The top should look like a crown, or castle, at the bottom. Leave the castellated nut in place, just a few turns in to keep it in a safe place.
- If you’re working on a McPherson strut suspension remove the “pinch bolt” that clamps the ball joint stud.
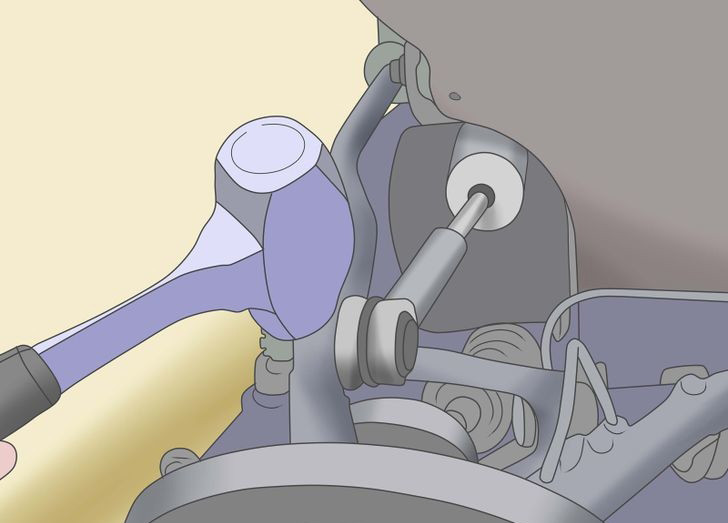
Pop loose the ball joint. The goal is to try to guide it through the hole in the upper half of the steering knuckle. It can be somewhat difficult because of the extremely tight fit which helps hold the ball joint in place and the road grime built up around the suspension, so you will most likely need to use a hammer and a special tool called a “pickle fork” or tie rod separator to get enough leverage to maneuver.
- With the wrench, remove the largest nut from the joint, replace with the new nut, and then drive the pickle fork between the control arm and the steering knuckle. You'll probably have to hammer it, and don't be afraid to get rough.This will probably ruin the gasket around the ball joint, so make sure you've got one to replace it.
- By putting the castellated nut on before hammering away, you'll avoid having the ball joint pop completely out and drop onto the floor, or more likely your foot.
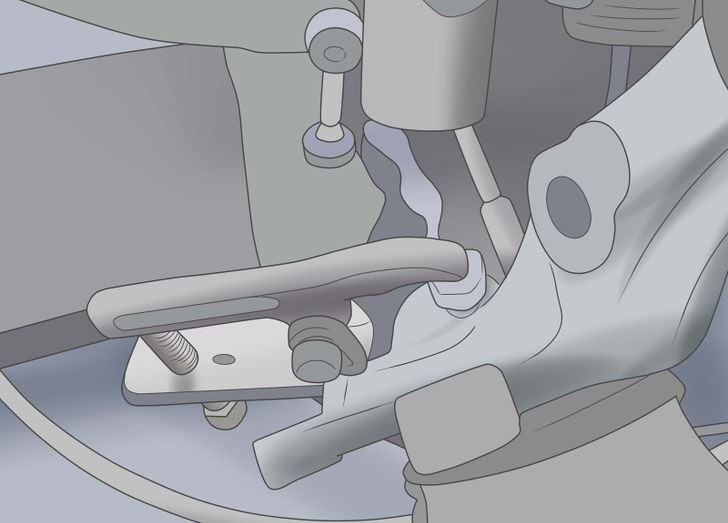
Remove the allen bolts and slide the control arm free. Loosen bolts or drill out rivets holding the ball joint in place, and slide out the ball joint. Sometimes, it's helpful to heat particularly corroded components with a torch to try to loosen them. Be careful if you try this.
- If your auto’s suspension uses pressed-in ball joints, you’ll need to remove the lower control arm and take the assembly to a mechanic with a hydraulic press, who can press the old ball joint out and the new ball joint in.
Guide the new joint through the knuckle hole. Slide the new rubber boot over the ball joint’s stud and guide the new ball joint back up through the steering knuckle hole, where it came from.
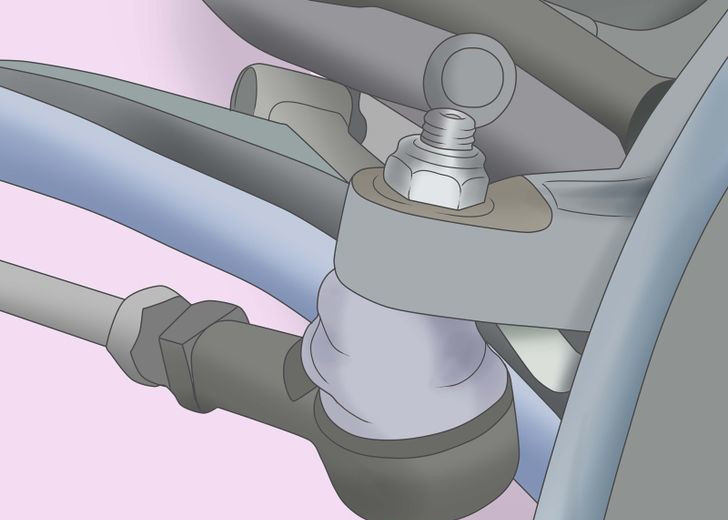
Bolt the joint into place using the hardware included. It's not usually advisable to re-use old bolts or rubber boots that covered the old ball joint, which will probably be too corroded if the ball joint wore out.
Torque the bolts to the proper specifications. Refer to the manufacturer’s service manual and use a torque wrench to tighten the bolts and castellated nut to specified levels; reinstall the pinch bolt if working on a McPherson strut.
- Generally, the specs will be about 44 pounds per foot on the screws and around 80 for other bolts. Always defer to the owner's manual for accurate numbers, however.
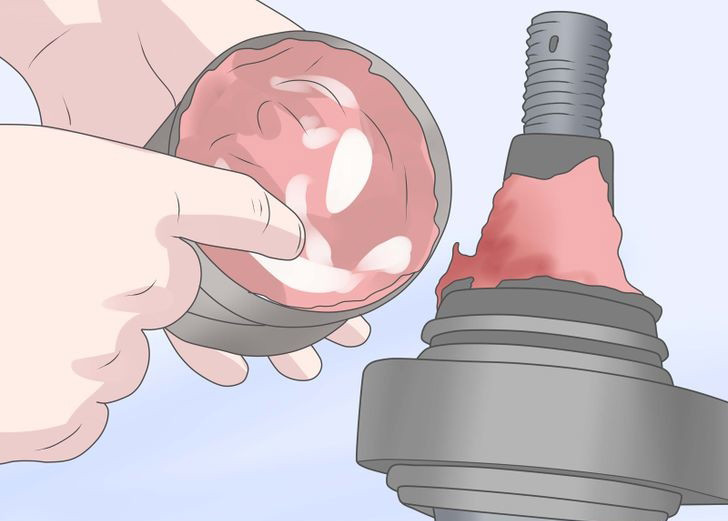
Screw in the new grease fitting and pump grease into the assembly. If you removed the brake or wheel, reattach them and lower the vehicle back down to test out the action. Bleed the brakes, if necessary. It's a good opportunity to do any other repairs you might need to do with the brakes, since you've got them off.
- Replacing a ball joint can affect alignment. If a ball joint is worn enough, and the vehicle was previously aligned, it might be wise have the vehicle realigned.