How To Replace Your Pitman Arm or Steering Arm
- Share
- Issue Time
- Jul 20,2016
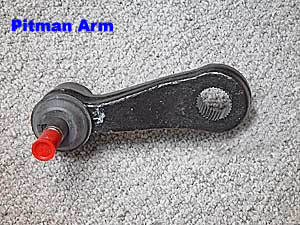
1.Understanding Your Pitman Arm (and Idler Arm)
Sometimes only one is bad, but many people say that replacing both of them is easy, good insurance, and doesn't cost much more because the labor is essentially free (since you already have to take everything apart to replace one or the other.)
If you think it's time, read on and you'll be able to get them replaced in no time. And thanks to Chuck for the chance to show you how on his Hummer!
2.Tools You'll Need
Be sure you have all your tools for replacing the Pitman arm before you start. It's tough to go to the auto store with no steering!
What You'll Need:
- 18mm - 1/2 drive wrench and socket
- Pitman arm puller
- 1-5/16 - 3/4 drive (big) Socket and breaker bar to remove pitman nut
- 5/16 - 1/2 drive Socket and a long breaker bar / pipe
- 11/16 and 5/8 - 1/2 drive socket and wrench
- Torque wrench that goes to 180 ft lbs
- Diag wire cutter
- Flat head screwdriver
- Needle nose pliers
- Jack stands and a floor jack
- Grease
- 2 Cotter pins 1/8 x 1-1/2
- New Pitman arm
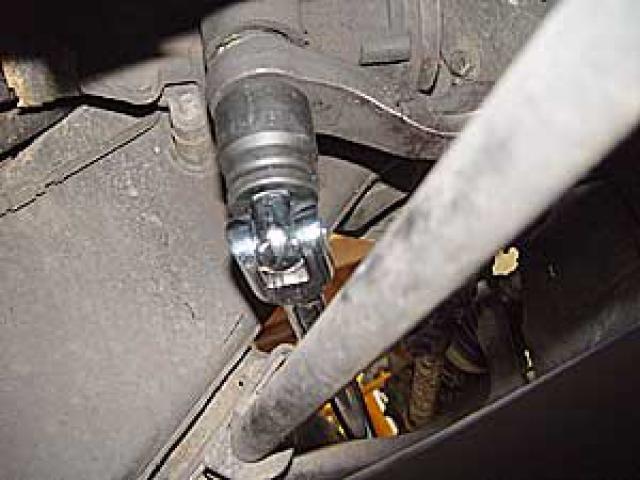
3.Remove the "Big Nut"
We have to get it in the air, so jack the left side (most cases, see your repair manual if you're not sure) of the truck up under the A-arm and put a jack stand under the frame on the left side. Lower the truck down on the jack stand and remove the wheel.
You have to remove the big nut that holds the Pitman arm to the steering box. In this case, it was a 1-5/16 nut that was torqued to 180 ft lbs. I used a 3/4" drive socket and a big-mother breaker bar.
I was all ready for a battle and it turned out that the nut was hardly tight at all. It came right off, which was not a good thing. Loose is never good when you're talking about steering.
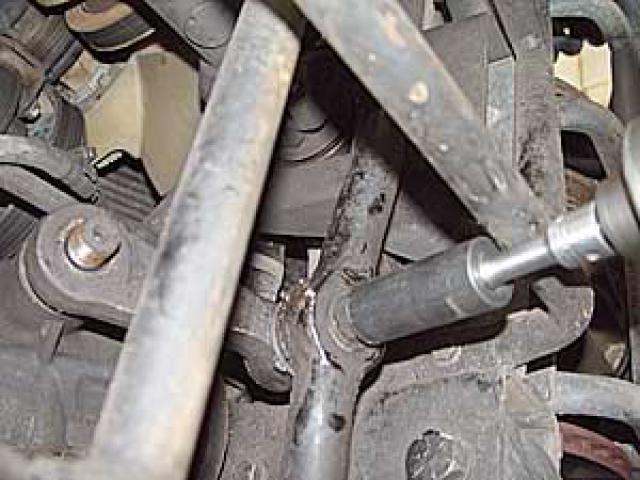
4.Pull the Pitman Arm from the Shaft
Take your Pitman arm puller and remove the arm from the steering shaft. It will release from the shaft and drop down some but the arm is still being held up by the centerlink.
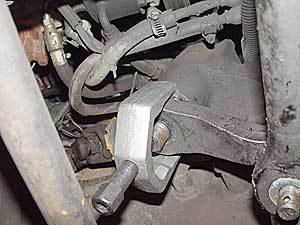
5.Disconnect the Pitman from the Centerlink
If you're doing both the idler arm and the Pitman today, this is where you will appreciate the fact that you have not installed the idler arm yet.
If you can't get the Pitman arm out, drop the idler arm down by removing the 2 bolts that attach it to the frame. Whew!6.Reinstall the Pitman Arm
Take a rag and wipe the junk away from the steering shaft and the centerlink hole. Take a good glob of grease and pack it up all around where the steering shaft sticks out of the steering box.
This will help seal the steering box from the elements.
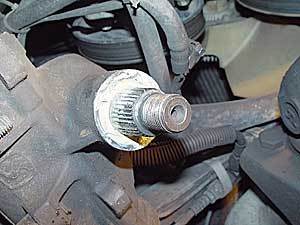
Look at the inside splines on the Pitman arm. You will notice that there are 4 flat spots that match up with the splines on the steering box. Install the Pitman on the steering shaft making sure to line up the splines and at the same time insert the tapered bolt in the centerlink. Put the split lock washer and hand start the big nut on the steering shaft and tighten it to your vehicle's specs.
Install the large nut on the Pitman bolt and tighten it to spec, making sure that while you are turning the nut you line up the cotter pin hole. Always tighten to align the holes, never go backwards! Install the new cotter pin and grease the Pitman.
Now hit the road and keep to the straight and narrow!