
- Ningbo Dongning Tools Co.,Ltd
- Professional Chinese Tools manufacturer on automotive speciality tools,bearing puller&heavy truck tools
- Address
- No.6 Falan Rd,Hengjie Town,Ningbo City,Zhejiang,China
- Phone
- +86-574-87216625
- info@nbdntools.com

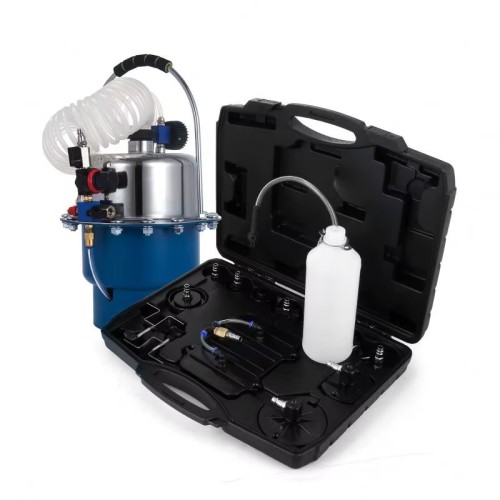
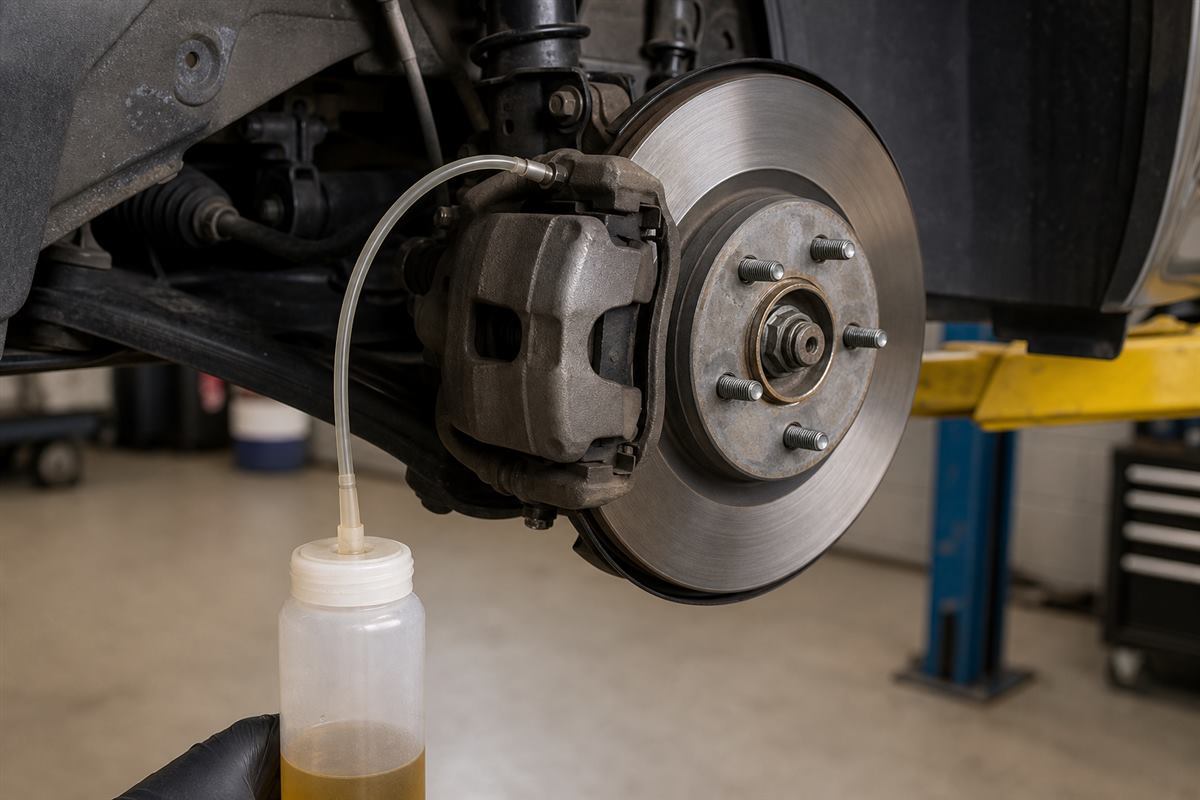
Bleed brakes only after confirming the correct brake-fluid specification and the wheel sequence in the vehicle service information. Keep the reservoir above the minimum mark, work one bleeder at a time, and stop if the pedal remains soft or a leak is visible. A pressure or vacuum brake bleeder can make a one-person job more controlled, but no tool replaces the factory procedure for your exact vehicle.
| Method | Best use | Watch carefully |
|---|---|---|
| Two-person pedal bleeding | Basic service when a helper is available | Close the screw before the pedal is released; do not force pedal travel beyond the vehicle guidance. |
| Vacuum bleeding | One-person fluid exchange and inspection | Air can appear at loose hose or screw threads, so confirm the source before assuming air remains in the circuit. |
| Pressure bleeding | Consistent fluid delivery and workshop workflows | Use the correct cap adapter and the pressure specified by the equipment and vehicle documentation. |
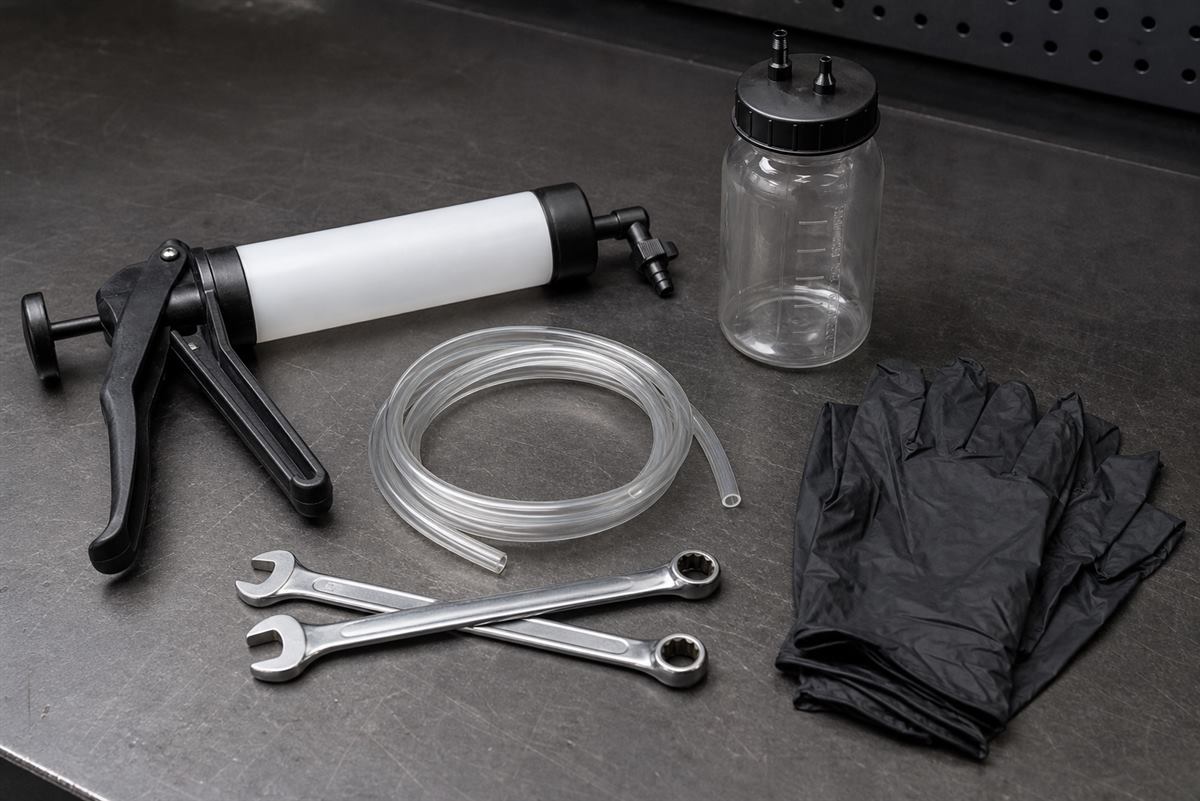
Most failed bleeding attempts start with an empty reservoir, an open screw at the wrong moment, or a loose connection that lets air enter or appear in the hose. Refill the reservoir often, keep the clear hose seated, and isolate one wheel at a time. Do not reuse drained fluid.
Some ABS, electronic brake, and brake-by-wire systems require a scan-tool routine, a defined pressure method, or a special sequence to move fluid through the modulator. Do not assume a conventional four-wheel bleed will remove air from every circuit. Follow the manufacturer repair information; when a required diagnostic function is unavailable, use a qualified technician.
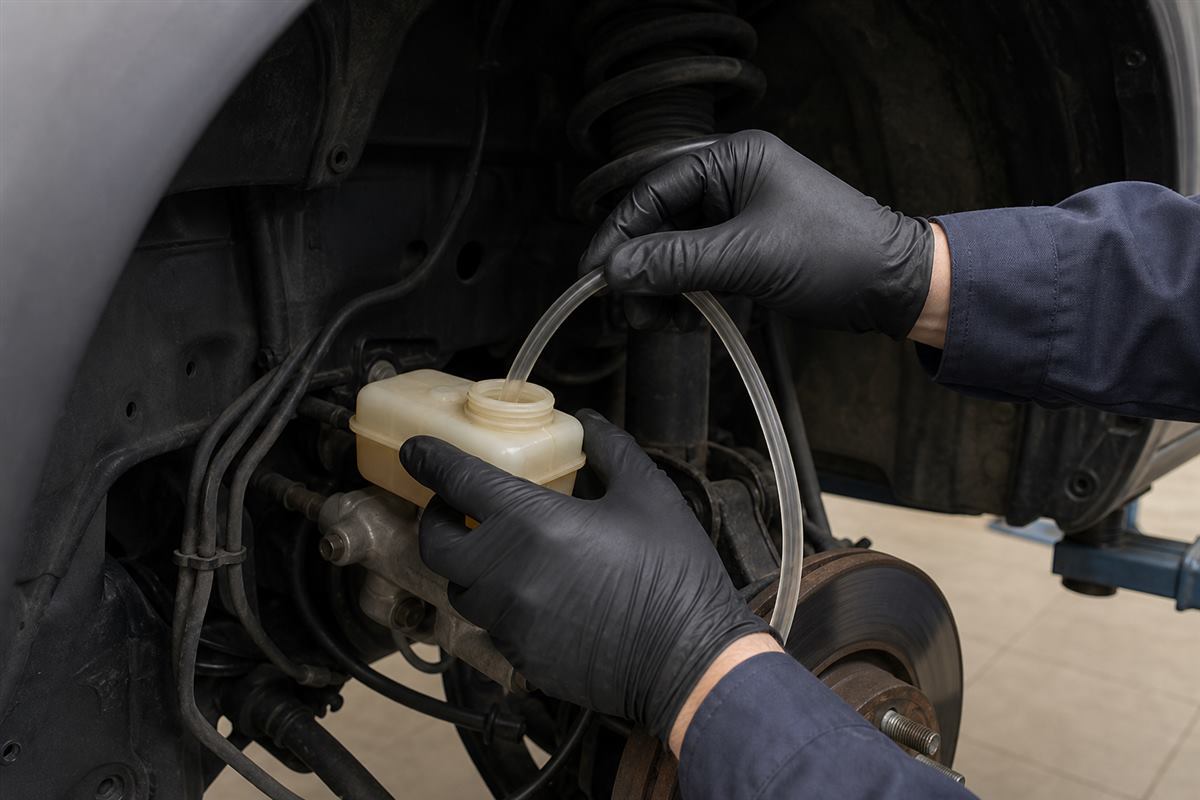
With every bleed screw secured, confirm the reservoir level, check for leaks, and apply the brake pedal with the engine off and then as specified for the vehicle. The pedal should feel firm and stable. Do not road-test a vehicle with a soft pedal, a warning light, or any sign of fluid leakage.
For workshop-ready brake service tools and application guidance, contact DNT Tools.