How to use a nut splitter?-DNT Tools
- Share
- Issue Time
- Jun 21,2022
Summary
How to use a nut splitter?-DNT Tools,provider,reliable manufacturer and supplier
How to use a nut splitter?
The first thing you must do is select an appropriate nut splitter for the nut you want to remove. This means you will have to select a nut splitter of a suitable size for the nut as well as a design capable of giving you access.
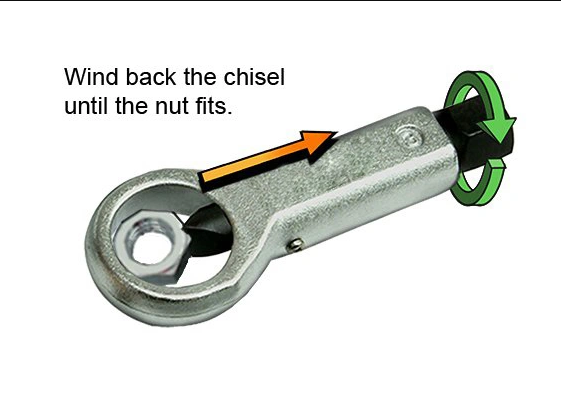
Step 1 – Unscrew chisel
Turn the screw head of the nut splitter in an anti-clockwise direction and push the chisel back into the handle of the nut splitter until you can fit the nut between the chisel and the anvil. If the screw is stiff to turn you will have to use a correspondingly sized spanner or socket to do this.
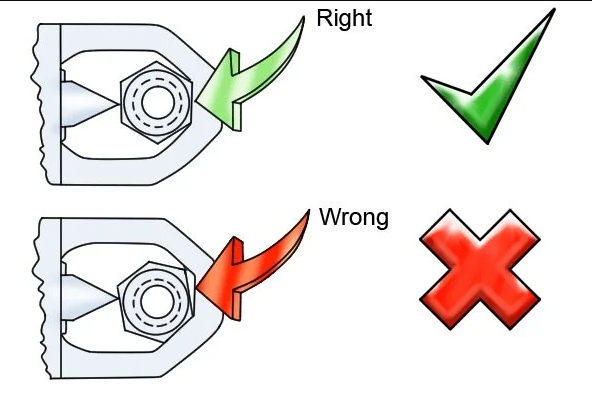
Step 2 – Position chisel
Place the frame of the nut splitter over the nut and line the anvil and chisel up with the nut’s flats. Make sure the chisel is positioned in the centre of the nut’s flat and is square to it

Step 3 – Tighten chisel
Turn the head of the screw in a clockwise direction to tighten the chisel and pinch the nut between the chisel and the anvil of the nut splitter. Continue turning the screw so that the chisel begins to cut into the nut, but stop once you hear a crack as the nut splits.
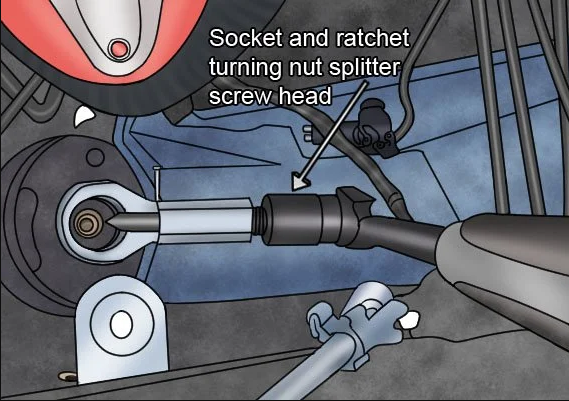
You will have to use a socket or spanner on the head of the screw in order to get the torque (turning force) required to turn it.
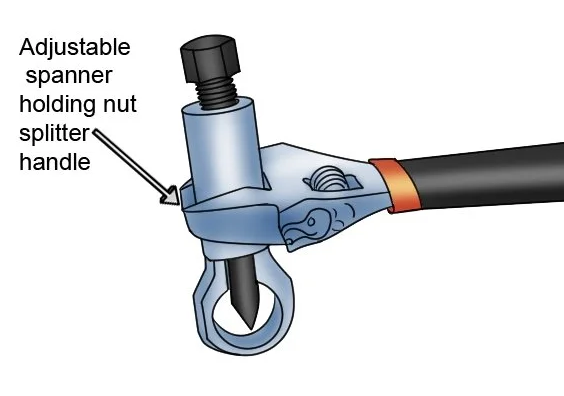
You may also have to hold the nut splitter in place while you tighten the screw. It can sometimes be easier to do this using an adjustable spanner on the nut splitter’s handle.

Step 4 – Unscrew chisel
Turn the screw head of the nut splitter in an anti-clockwise direction and push the chisel back into the handle of the nut splitter until it is free from the nut.
Step 5 – Repeat on other side
If your nut splitter only has one chisel you may have to repeat steps 2-4 with the chisel cutting into the opposite side flat of the nut.